GET READY TO TAME THE TERRAIN
PRO TIPS FOR YOUR FIRST DESCENTS
-

HANDLING
Handling Your ShredShox: Tips for Managing the Added Weight
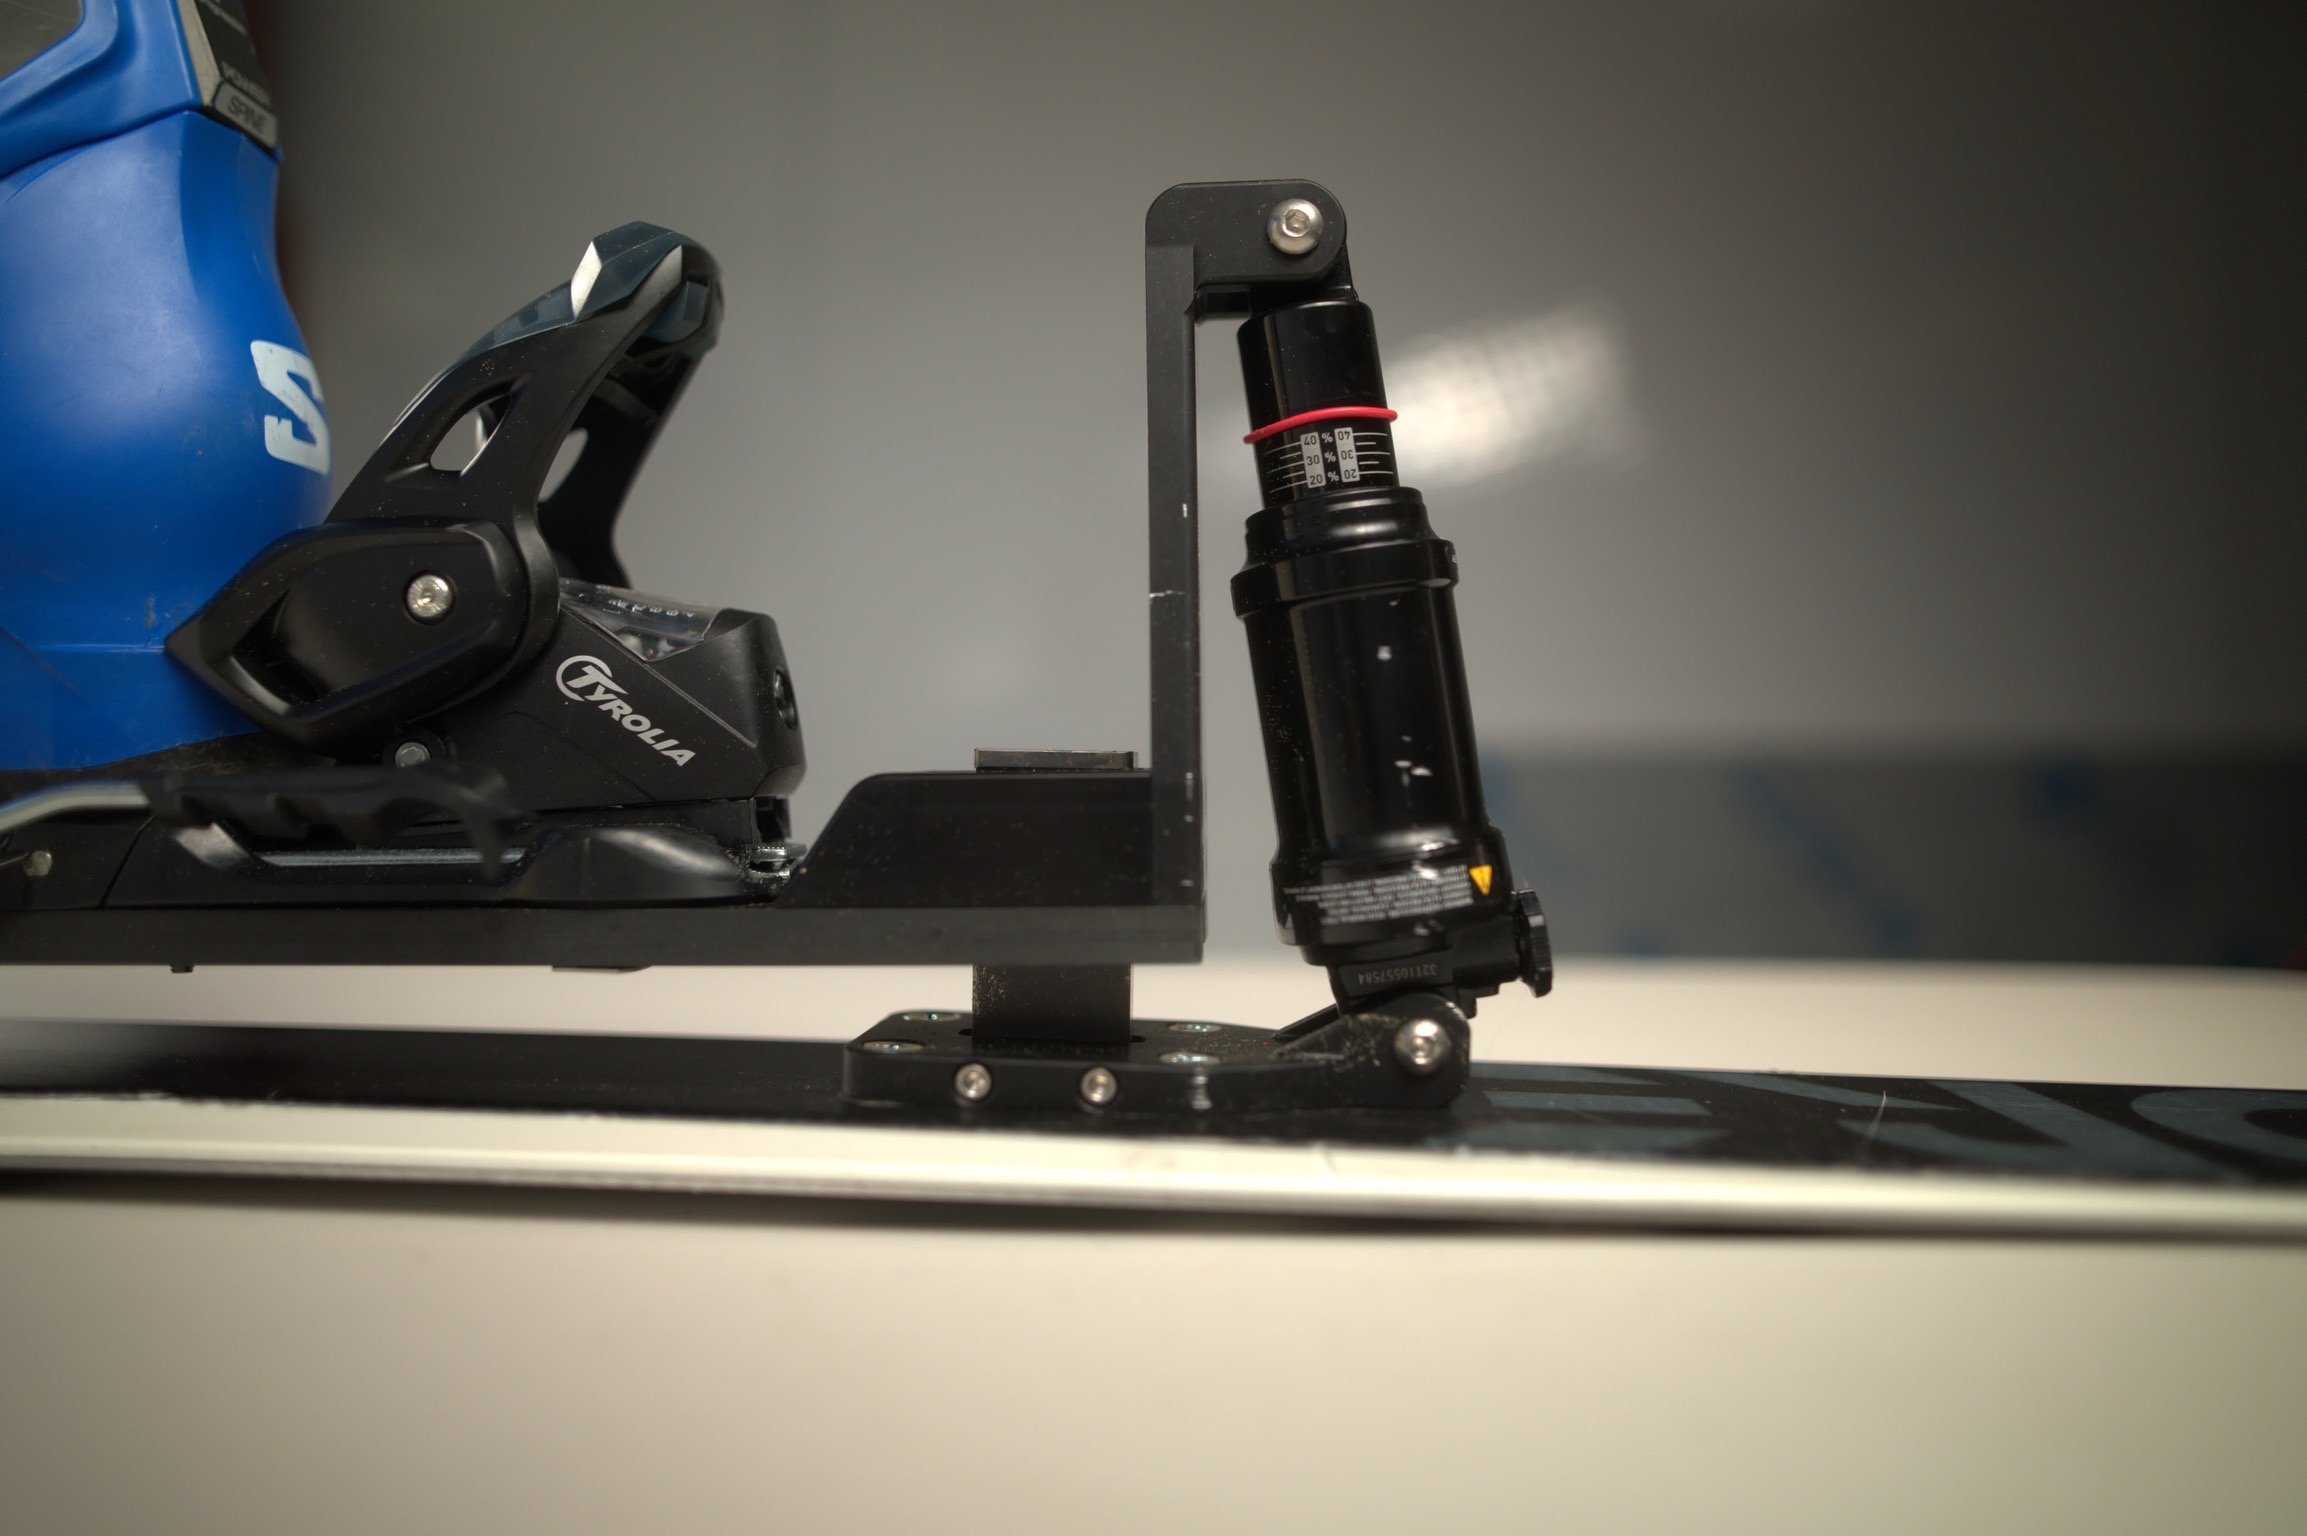
The ShredShox system adds approximately 5 lbs to your ski equipment. While this additional weight enhances your performance on the mountain, it may require slight adjustments when carrying your skis to and from the lift. Don’t worry—these tips will help you handle your gear like a pro. Trust us, the added functionality is well worth it!
Tips for Carrying Your ShredShox-Equipped Skis
Use a Ski Strap
The air pressure in the ShredShox system can make it challenging for your skis to stay locked together when not in use.
Secure your skis with a ski strap to keep them latched together for easier handling.
Find a Comfortable Resting Spot on Your Shoulder
Due to the added weight, carrying your skis over your shoulder may require a slight adjustment.
Experiment with the position to find a spot where the skis balance comfortably.
Utilize the Shox Towers
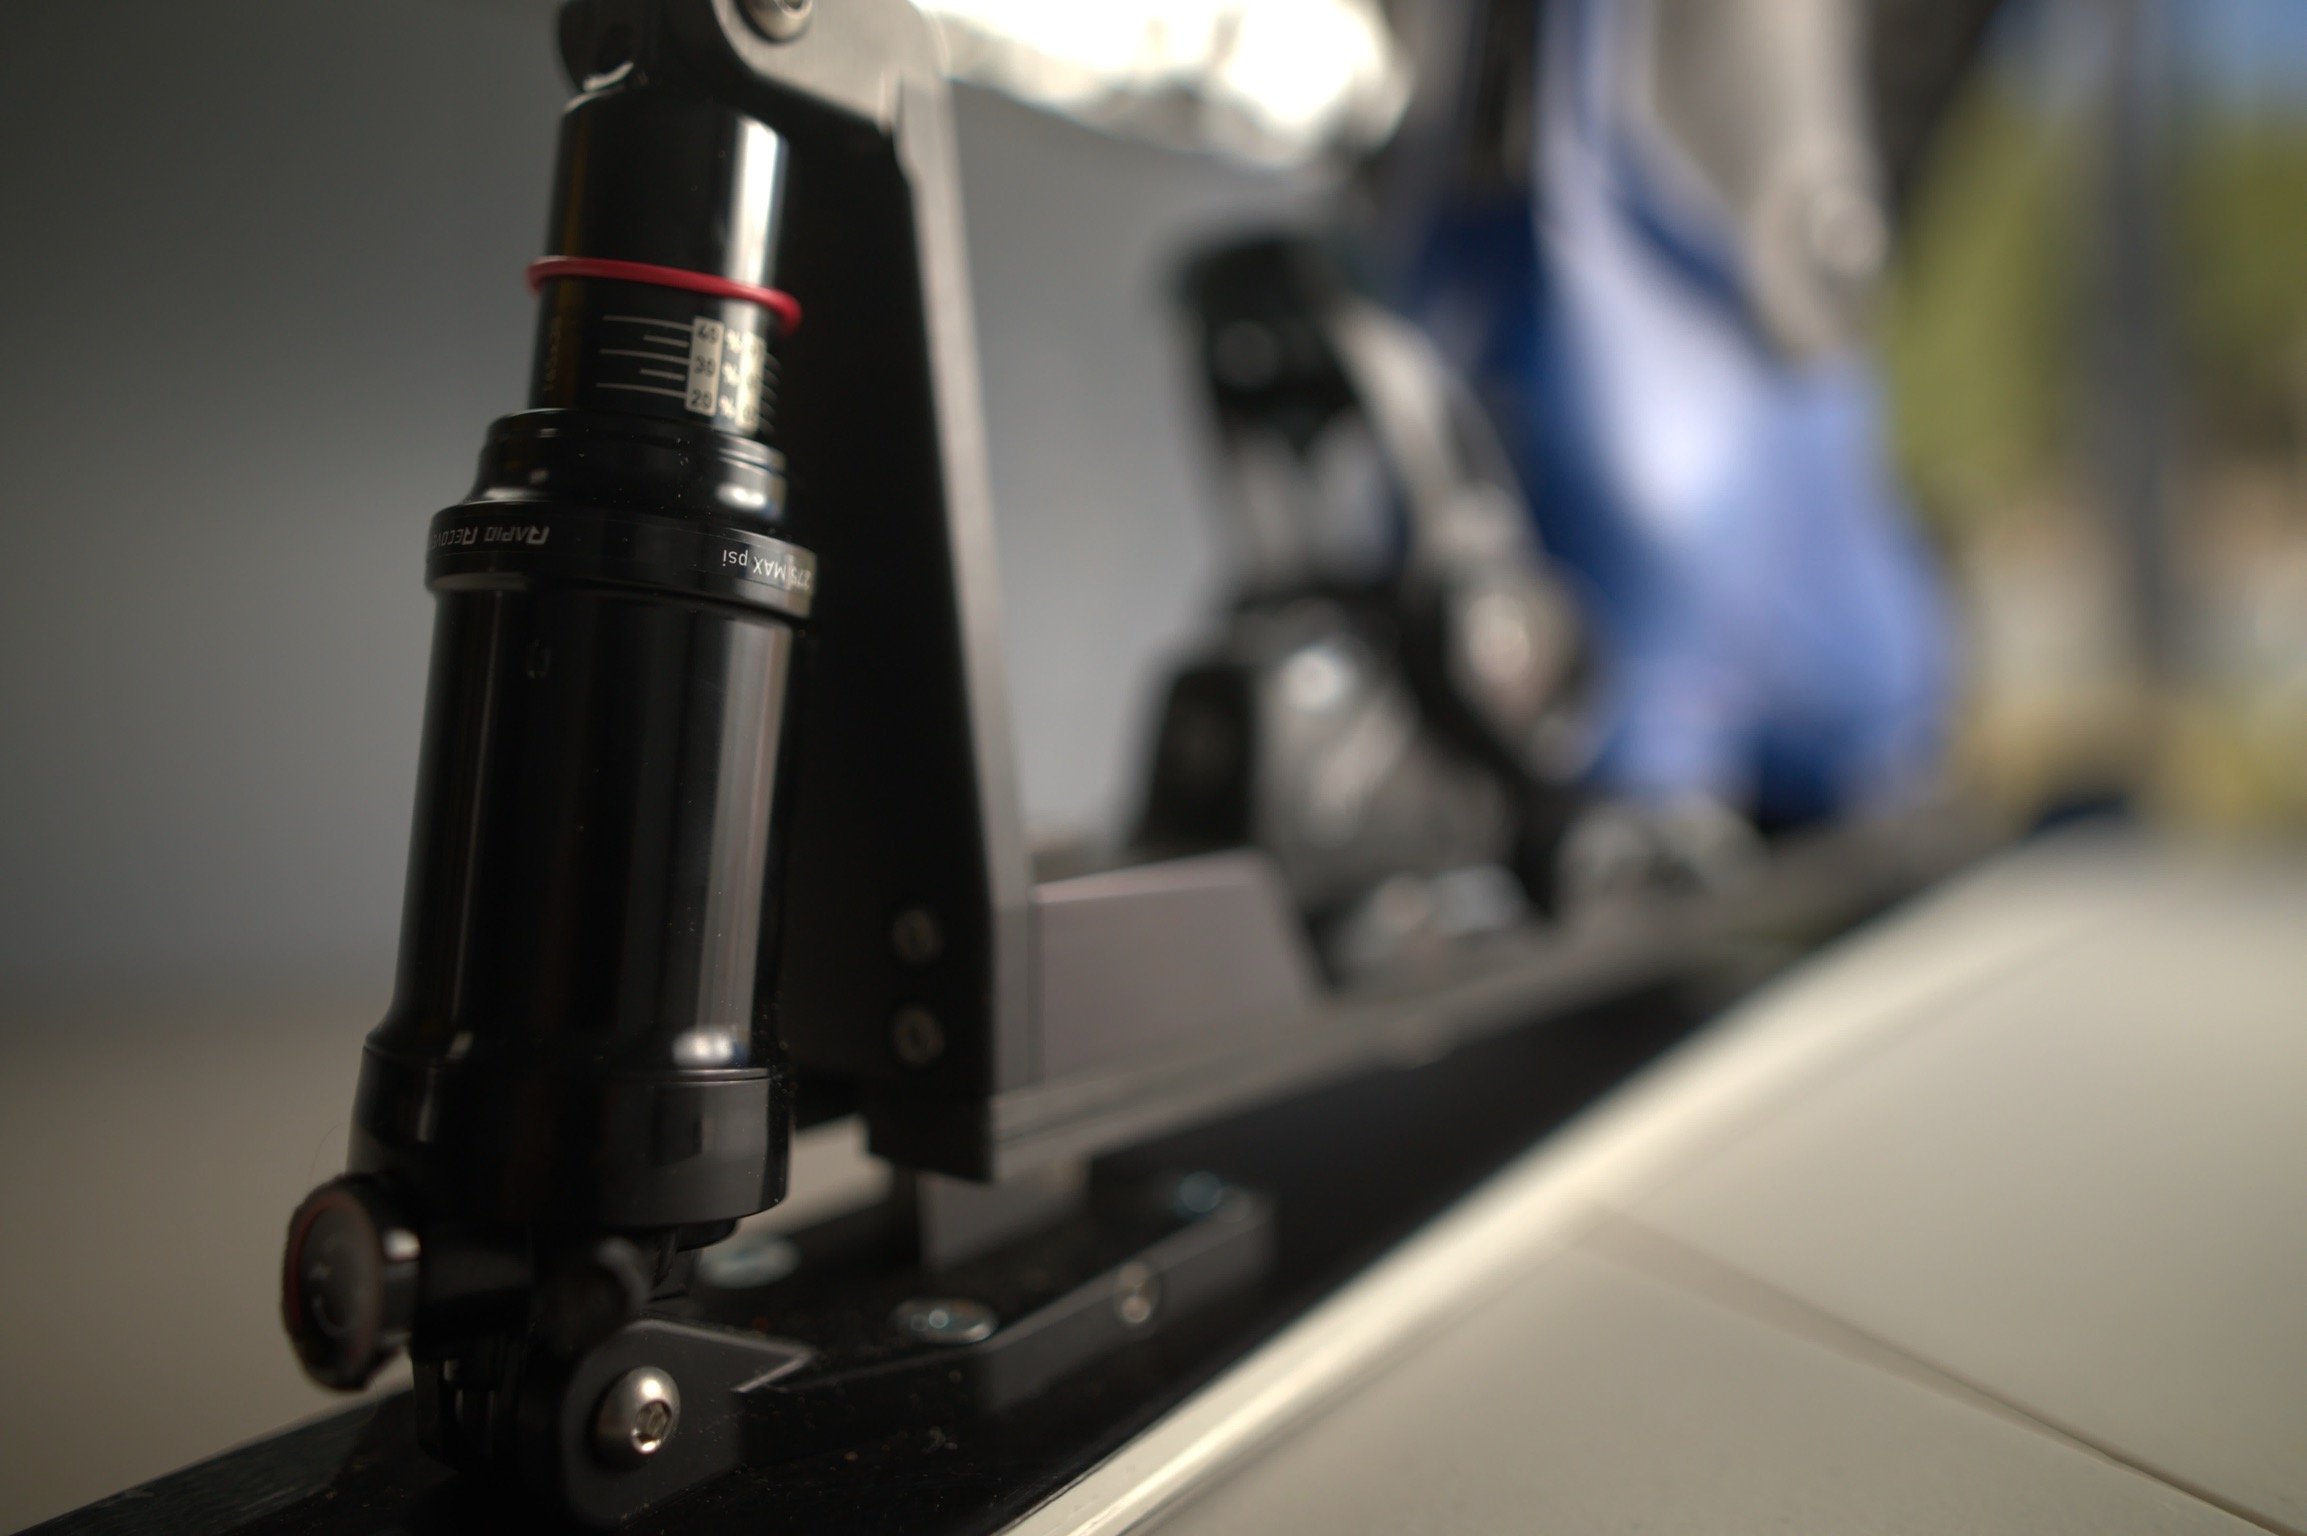
The ShredShox towers are excellent grip points for managing your skis.
Use them as holding mounts when carrying your skis by hand for better leverage and balance.
Be Patient and Get Acclimated
It may take a few outings to adjust to the feel of your new equipment.
Embrace the learning curve—soon, handling your skis will feel second nature.
-

SHOCK SET UP
First Descent Guide: Setting Your Air Pressures
Welcome to Full Suspension Skiing!
Your ShredShox-equipped skis feature 4 adjustable shocks that deliver unprecedented tunability and performance on the mountain. This guide will help you get started with setting your air pressures and rebound for your first run.Step 1: Get Your Tools Ready
You’ll need a shock pump, commonly known as a mountain bike shock pump, to adjust the air pressure in your ShredShox. If you don’t already have one, they’re readily available at most bike or ski shops.
Step 2: Set Your Air Pressure (Baseline Settings)
We’ve created a baseline pressure scale tailored to your weight. Use this as a starting point and fine-tune based on your riding preferences:
For harder charging and aggressive carving: Increase the pressure slightly.
For a smoother, more forgiving ride: Let out a bit of pressure.
Refer to the PSI Tuning Grid provided HERE to determine the recommended pressures for your weight.
Step 3: Adjust Rebound Settings
Each shock features 10 clicks of rebound adjustment to fine-tune how quickly the suspension returns to its original position after compression.
Direction of Adjustment:
Rabbit (+): Increases rebound speed, ideal for aggressive carving and faster transitions.
Turtle (-): Slows rebound, perfect for absorbing bumps and navigating uneven terrain.
Pro Tips:
If you’re carving hard or skiing fast, lean towards faster rebound settings.
For bumps and rough conditions, slower rebound provides better control and comfort.
Step 4: Test and Fine-Tune
Start with the recommended air pressure and rebound settings based on your weight and preferences.
Take a few runs on familiar terrain.
Adjust pressures and rebound as needed to match your riding style and comfort level.
-

FIRST DESCENTS
Tips for Your First Descent
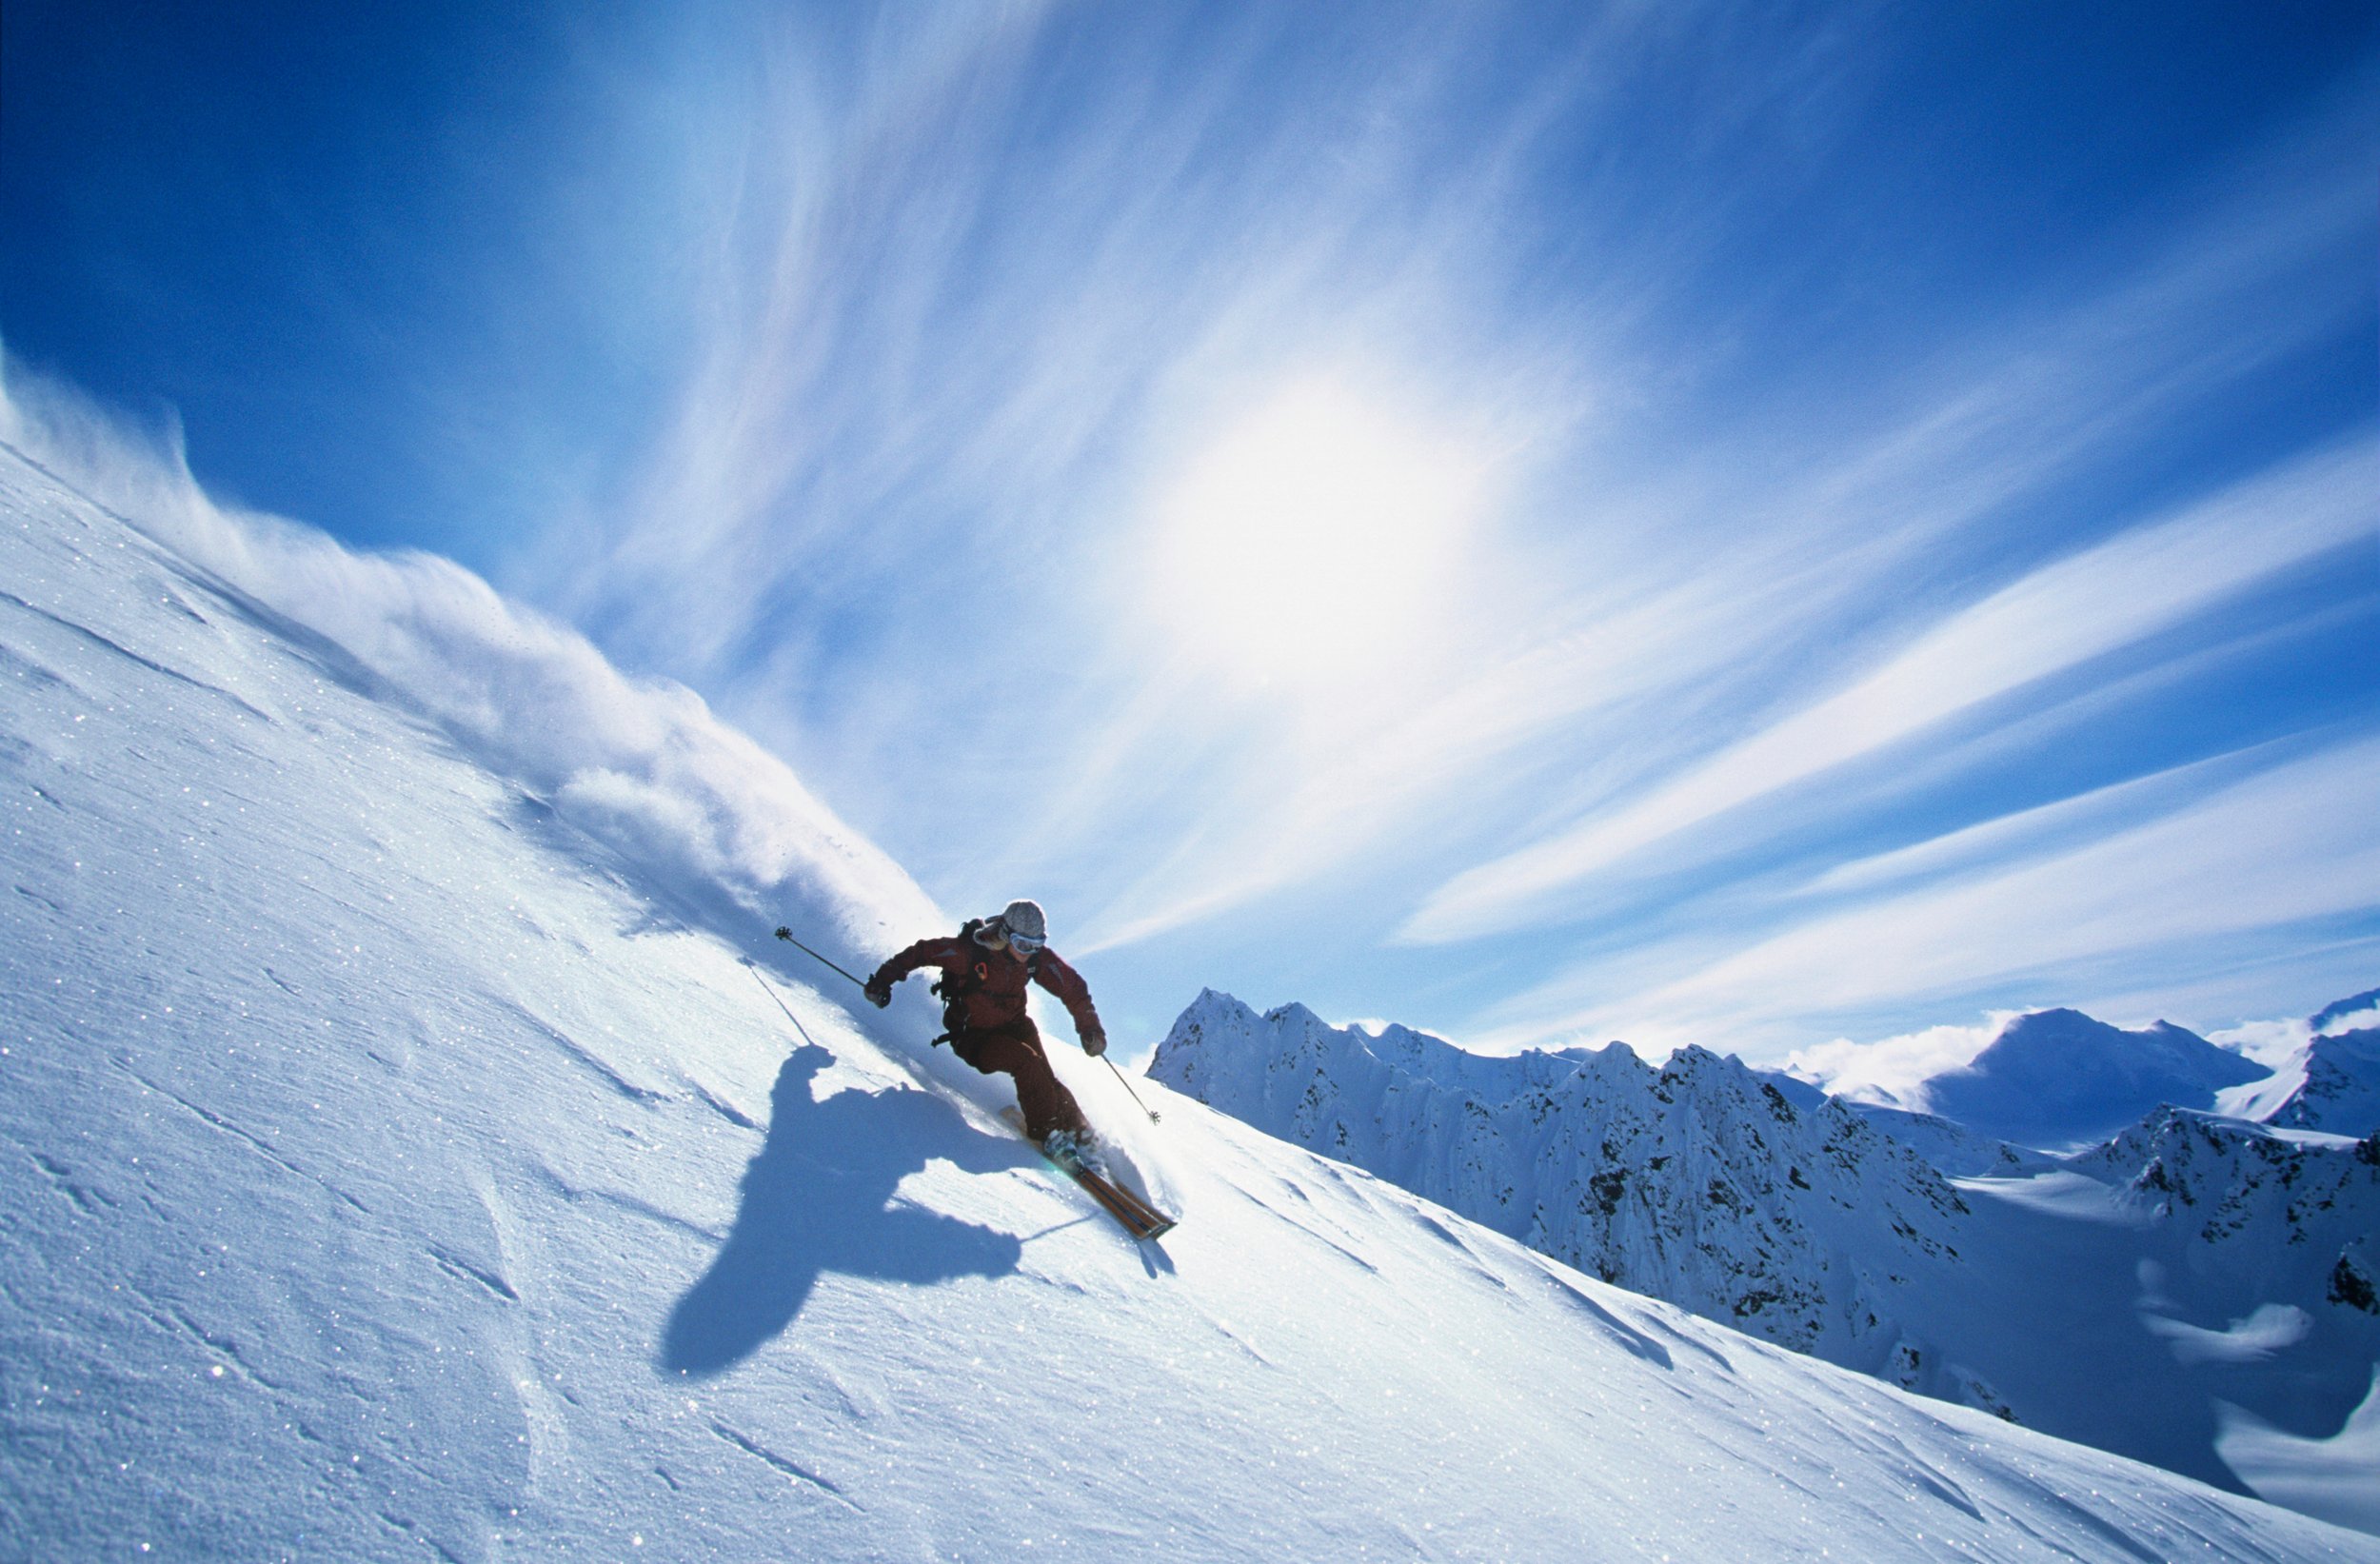
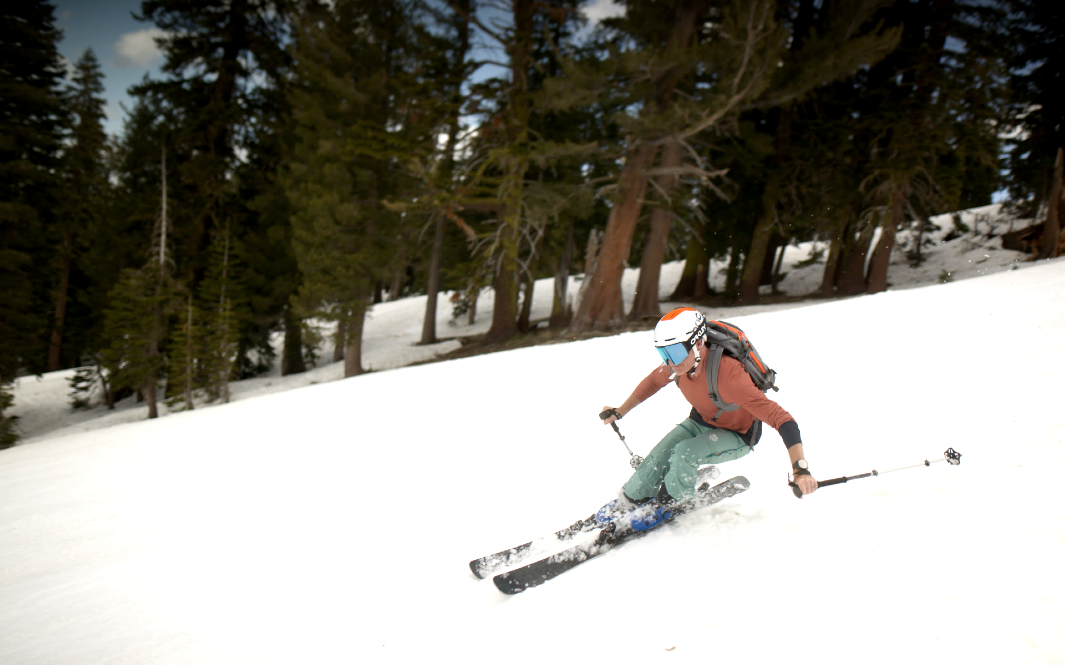
You’ve dialed in your air pressure, adjusted your rebound, and gotten acclimated to your new equipment. Now it’s time to hit the slopes and experience skiing like never before. Just like with any new gear—whether it’s a car, a bike, or even new shoes—there’s an acclimation period. Here are some tips to make the most of your first descents:1. Get Acquainted with “Install” Laps
Start your ShredShox experience by taking a few “install” laps on familiar terrain. Use this time to:
Get used to how your edges engage and release.
Practice weight transfer and balance.
Build confidence in the unique feel of your full-suspension setup.
You’ll quickly notice how the suspension system absorbs terrain, providing smoother turns and less fatigue. Within a few laps, you’ll feel comfortable and confident, ready to take on more!
2. Embrace New Sensations
When you’re ready to tackle more dynamic terrain, be prepared for some exciting sensations:
Variable Conditions: Whether you’re navigating icy patches, powder, or mixed snow, trust the suspension to keep you stable and in control.
Bumps and Jumps: Let the suspension absorb the impacts, keeping you balanced and ready for the next move.
Carving: Experience unparalleled edge hold and smooth transitions as the suspension dampens vibrations and enhances precision.
3. Start Small and Build Confidence
When tackling new or challenging terrain, begin with control and ease:
In tight or bumpy areas, take it slow and deliberate. Focus on learning how the ShredShox responds to weight transfer and quick turns.
Once you’ve gained confidence, push yourself to tame the terrain. You’ll be amazed at how much smoother and more controlled your runs feel.
4. Level Up with Custom Tuning
Once you’re comfortable, experiment with your settings to get even more out of your ShredShox:
Increase air pressure for a firmer, more aggressive ride.
Decrease air pressure for a softer, smoother experience.
Adjust rebound settings to suit your speed and terrain—faster for carving, slower for bumps.
5. Ready to Send It? Go for It!
When you feel dialed in, don’t hold back! ShredShox was built to handle anything the mountain throws your way.
Tackle bumps, jumps, and variable snow conditions with confidence.
Carve down the mountain knowing you’ve got the most advanced ski platform under your feet.
Enjoy the Ride!
This is just the beginning of your ShredShox journey. Whether it’s your first lap or your hundredth, you’ll find new levels of comfort, control, and fun every time you hit the slopes.
Welcome to the future of skiing—go out there and shred!


